As the name says, Azure Cloud Shell is a browser-accessible shell, which is used for managing Azure resources. It comes with two types of command shells Bash and PowerShell. It also gives you the flexibility to choose and switch between them.
In order to use the Azure Cloud Shell, you must first create a storage account. Once you’ve created it, on the first run, Azure will prompt to create an Azure File Share, so the data will persist between sessions. This could be quite helpful sometimes, for example when you need to upload files to work with them later.
There are currently two available methods to do this, using the Cloud Shell itself, or the Azure Portal.
Prerequisites
- Azure subscription
- Azure storage account
Upload using Azure Portal
Step 1. Login to the Azure Portal and type storage accounts in the search text box.

Step 2. Click on the Cloud Shell Storage account.

Note(s): If you have multiple storage accounts, the Cloud Shell storage account should be located under cloud-shell-storage-region Resource group.
Step 3. The Cloud Shell is using the Azure File Storage, so click on File shares.

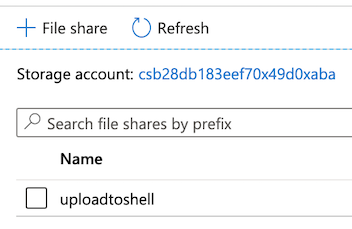
Step 4. Click File share.

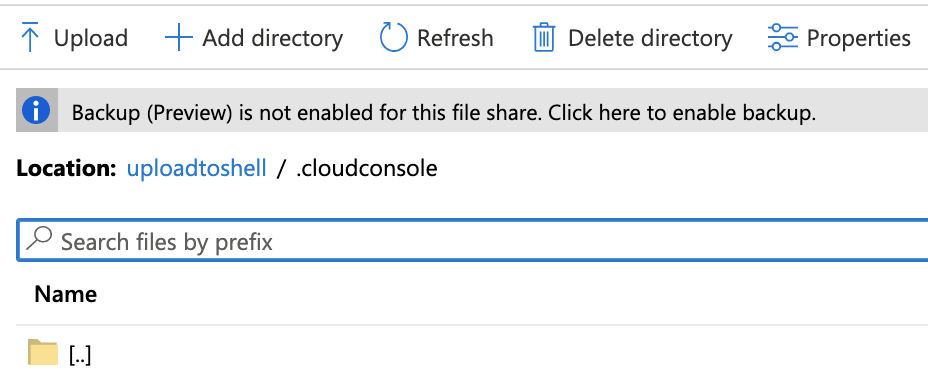
Step 5. Open the .cloudconsole folder and click Upload.

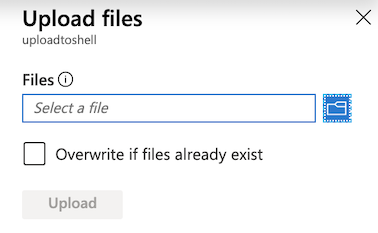
Step 6. It’ll display a side panel on the right side. Choose a file to upload and click Upload.

Upload using Cloud Shell
Step 7. Login to the Azure Portal and click on the Cloud Shell icon.
![]()
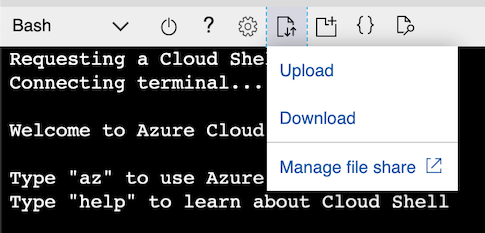
Step 8. Click on the Upload/Download files button and click Upload.

Conclusion
Persisting files in Azure Cloud Shell is a good practice, especially if you are switching between hosts and don’t want to copy or move local files every time you need them. Feel free to leave a comment below and if you find this tutorial useful, follow our official channel on Telegram.